
Renovating a home in the Greater Toronto Area comes with excitement, big dreams, and more than a few worries about unexpected costs or delays. For many homeowners, the challenge is translating their vision into a plan that respects both their timeline and budget. Clear, specific goals tied to your actual property needs are what separate successful renovations from stressful, overspent projects. This guide walks you through proven steps to assess, organize, and execute your renovation so you stay in control from start to finish.
Table of Contents
- Step 1: Assess Needs And Set Realistic Goals
- Step 2: Select Reliable Contractors And Finalize Designs
- Step 3: Plan Budgets And Approve Project Timeline
- Step 4: Oversee Construction And Track Milestones
- Step 5: Review Results And Ensure Quality Delivery
Quick Summary
| Key Point | Explanation |
|---|---|
| 1. Assess Needs Before Renovation | Evaluate your property thoroughly to identify must-fix items and avoid costly surprises later on. |
| 2. Set Clear, Achievable Goals | Define specific targets for your renovation, such as budgets and timelines, to prevent scope creep. |
| 3. Choose Qualified Contractors | Vet contractors based on qualifications and references to ensure reliable performance and quality work. |
| 4. Establish a Detailed Budget | Itemize costs, including contingencies for unexpected issues, to stay financially prepared throughout the project. |
| 5. Conduct Final Reviews Thoroughly | Perform a comprehensive walkthrough before payment to ensure all work meets expectations and specifications. |
Step 1: Assess Needs and Set Realistic Goals
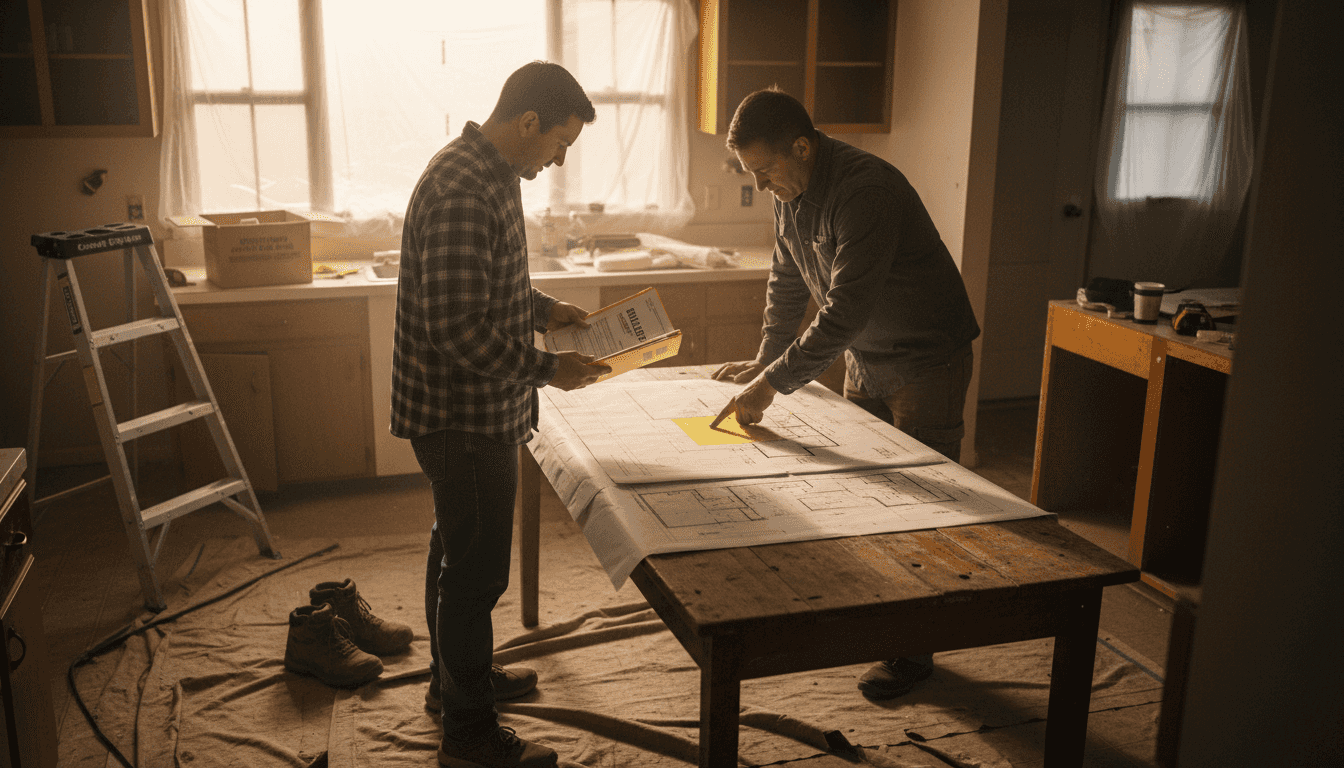
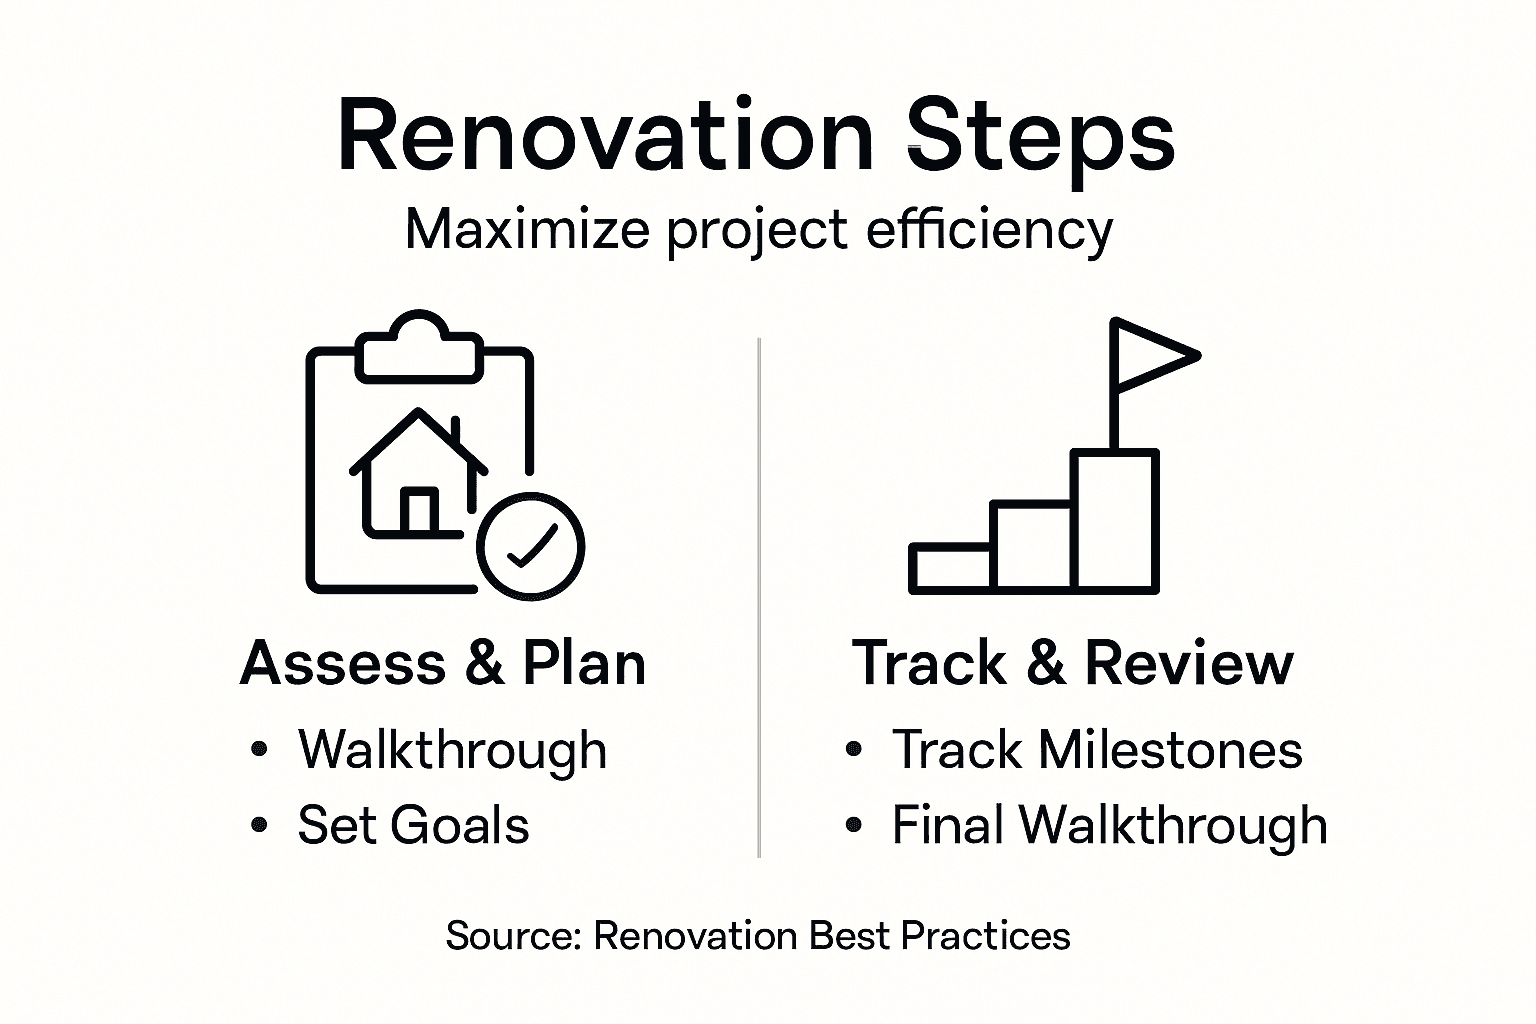
Before you swing a hammer or sign any contracts, you need to understand what your property actually needs. This step separates successful renovations from budget-draining disasters. You’ll spend time evaluating your space, identifying what must change, and establishing goals you can actually achieve.
Start by walking through your property with a critical eye. Look beyond what you want to fix cosmetically. Pay attention to structural issues, aging systems, and building code violations. Note water damage, electrical concerns, foundation cracks, and outdated plumbing. These hidden problems often cost more than visible ones if left uncovered.
Document everything you observe. Take photos, write detailed notes, and measure affected areas. This creates your baseline assessment. Your contractor will need this information to provide accurate quotes and timelines.
Next, prioritize your findings into three categories:
- Must-fix items: Code violations, safety hazards, and structural problems
- Should-fix items: Worn components that are functional but aging
- Want-to-upgrade items: Aesthetic improvements and lifestyle enhancements
This framework helps you focus budget on what truly matters. You can always upgrade later, but safety and code compliance cannot wait.
Here is a summary comparing the three renovation priority categories to help clarify their importance and impact:
| Category | Typical Issues Covered | Impact on Safety/Value | Recommended Timing |
|---|---|---|---|
| Must-fix items | Structural faults, code violations | Critical for safety & resale | Address immediately |
| Should-fix items | Aging components, minor wear | Maintains functionality & value | Complete soon after must-fix |
| Want-to-upgrade items | Cosmetic improvements, lifestyle gains | Enhances comfort & aesthetics | Can be scheduled later |
Now set your goals. Using methods for gathering information and making informed decisions ensures your objectives connect directly to your assessed needs. Define what success looks like in measurable terms: a specific budget, completion timeline, or functional outcome.
Avoid vague goals like “update the kitchen.” Instead, aim for concrete targets: “Replace all electrical systems, upgrade to modern appliances, and complete work within four months and your budget.”
Establish a realistic budget. Research typical costs in the Greater Toronto Area for your project type. Factor in a 15-20 percent contingency for unexpected issues. This number isn’t pessimism—it’s experience talking. Almost every renovation uncovers surprises once walls come down.
Clear, specific goals tied to your actual property needs prevent scope creep and keep projects on track.
Connect with a contractor early to validate your assessment. Their experience with dozens of Toronto-area properties adds perspective you can’t gain alone. They’ll spot issues you missed and suggest realistic timelines based on local labor availability and supply chains.
Pro tip: Document your property’s current condition with dated photos and detailed notes before the renovation begins—this creates a reference point if disputes arise and helps your contractor understand baseline conditions.
The table below outlines key documents and records to organize for a smooth renovation process:
| Document Type | Purpose | When to Collect |
|---|---|---|
| Baseline photos & notes | Reference for disputes & quotes | Before work begins |
| Detailed contracts | Clarify scope, costs, and resolution methods | Before contractor is hired |
| Inspection reports | Confirm compliance and quality | At each project milestone |
| Receipts & warranties | Track purchases and guarantee work | Throughout and at completion |
Step 2: Select Reliable Contractors and Finalize Designs
You’ve assessed your needs and set goals. Now comes the decision that determines whether your renovation runs smoothly or becomes a nightmare: choosing the right contractor and locking down your design. This step requires careful vetting and clear communication to ensure your vision becomes reality on time and on budget.
Start by identifying potential contractors in the Greater Toronto Area. Ask friends, family, and neighbors for recommendations. Check online reviews, but read them critically. Look for contractors with strong track records on projects similar to yours.
When you’ve narrowed your list, verify their qualifications thoroughly. Checking contractor licenses and insurance protects you legally and ensures they meet professional standards. Ask for proof of current licensing with your local building authority and liability insurance. Never skip this step, no matter how reputable they seem.
Request references from at least three recent projects. Contact these clients directly and ask specific questions: Did the project finish on schedule? Were costs as quoted? How did the contractor handle problems?
Get detailed written quotes from at least two contractors. These should include:
- Itemized labor and material costs
- Project timeline with start and completion dates
- Payment schedule and terms
- Warranty details for workmanship
- Change order procedures for scope adjustments
The lowest quote isn’t always the best. Compare what’s included and judge value against quality and timeline.
Once you’ve selected your contractor, finalize your design together. Your contractor brings practical knowledge about what works in your space. Discuss material selections, layout options, and how choices affect budget and timeline. Make decisions about finishes, colors, and fixtures now. Late changes cost money and delay completion.
Document everything in writing. Your contract should clearly state deliverables, costs, timeline, and dispute resolution. Sign both copies and keep one for your records.
A contractor who invests time understanding your goals and constraints is worth their weight in gold.
Schedule a final walkthrough with your contractor before work begins. Confirm site access, parking, and where materials will be stored. Discuss daily work hours and how you’ll handle communication during the project.
Pro tip: Request a detailed project schedule showing phased milestones—knowing when plumbing inspection happens or when your kitchen will be unusable helps you plan around the disruption.
Step 3: Plan Budgets and Approve Project Timeline
Numbers matter. Your budget and timeline work together to define what’s possible and what’s not. Getting both right prevents financial stress and keeps your project moving forward without constant delays or surprises that derail your plans.
Start by itemizing every cost. Break your project into categories: labor, materials, permits, inspections, and design fees. Get quotes from your contractors and suppliers for each category. Add these up to reach your total project cost.
Next, account for uncertainty. Creating a contingency fund of 10 to 20 percent protects you when hidden issues emerge. That water-damaged wall you discover mid-project or the upgraded electrical work your inspector requires won’t derail your finances if you’ve planned ahead.
Your contingency isn’t optional. It’s insurance against the unexpected. Most Toronto renovations uncover at least one surprise once work begins.
Now create your budget breakdown:
- Fixed costs (permits, inspections, design)
- Material costs (flooring, fixtures, finishes)
- Labor costs (by trade)
- Contingency reserve (10-20 percent of total)
- Timeline-related costs (extended project duration)
Review this budget with your contractor. They’ll tell you if numbers are realistic for your project scope. Adjust as needed until both of you agree the budget is achievable.
Next, establish your project timeline. Work with your contractor to identify key phases and milestones. Understand dependencies: plumbing must be roughed in before drywall goes up. Some trades must work in sequence, not parallel.
Mark critical dates on your calendar. When does demolition start? When does the inspection happen? When can you move back in? These milestones help you track progress and plan your life around the disruption.
Approve the timeline in writing. Your contract should specify start date, key milestone dates, and completion date. Include language about how delays get handled. Does your contractor pay penalties for going over? How does bad weather affect the schedule?
A detailed budget and approved timeline create accountability and keep both you and your contractor aligned.
Build contingency time into your schedule, not just budget. Add 10-15 percent extra time for unforeseen issues. A four-month project realistically takes 4.5 to 4.6 months when you account for surprises.
Pro tip: Request a phase-by-phase payment schedule tied to completed work rather than a lump sum upfront—this aligns financial incentives and protects your investment if quality issues arise.
Step 4: Oversee Construction and Track Milestones
Construction has started. Walls are coming down, crews are on-site, and dust is everywhere. This is where your oversight matters most. Active monitoring prevents small problems from becoming expensive disasters and keeps your project aligned with the approved timeline and budget.
Start by establishing a communication rhythm with your contractor. Weekly check-ins work well for most residential projects. These meetings should cover completed work, upcoming tasks, any issues encountered, and whether you’re on schedule.
Create a simple tracking system. Use a spreadsheet, notebook, or project management app to document progress. Record dates when major milestones are completed: demolition finished, electrical rough-in inspected, drywall hung. Compare actual dates against your approved timeline.
Understand what systematic progress tracking and quality controls look like in practice. This means verifying that work meets your specifications before the next phase begins. Don’t let drywall go up if electrical rough-in looks incomplete. Stop work if you notice quality issues.
Walk the site regularly. Look at completed work in detail. Check workmanship, material quality, and adherence to your design. Take photos documenting progress. These become valuable references if disputes arise later.
Address problems immediately. Small issues compound quickly when ignored. If something looks wrong, ask your contractor about it before work continues. Document conversations in writing via email to create a clear record.
Key milestones to track include:
- Permit approvals and inspections scheduled
- Demolition and site prep completed
- Rough-in inspections (electrical, plumbing, HVAC) passed
- Framing and structural work finished
- Drywall and finishing stages underway
- Final inspections scheduled
- Project completion and punch-list items
Stay alert to budget impacts. If your contractor requests a change order, understand what it costs and how it affects timeline. Approve changes in writing before work proceeds.
Active oversight catches problems early when fixes are cheaper and easier than remediation later.
Schedule required inspections at the right moments. Your building department needs to inspect at specific stages. Missing these windows delays your entire project. Coordinate inspection timing with your contractor weeks in advance.
Remain flexible but firm. Unexpected issues will emerge. Work with your contractor to solve them efficiently. But don’t accept changes to budget or timeline without written approval and clear understanding of impacts.
Pro tip: Keep a project binder with all contracts, change orders, inspection reports, and receipts organized by date—it protects you if disputes arise and helps contractors remember what was approved.
Step 5: Review Results and Ensure Quality Delivery
Work is complete. The crews have packed up, the dust has settled, and your renovation stands finished. But the project isn’t truly over until you’ve verified that everything meets your expectations and the agreed specifications. This final review protects your investment and confirms you’re getting exactly what you paid for.
Start with a thorough walkthrough of the entire project. Don’t rush this. Spend time in each space examining finishes, checking functionality, and comparing completed work against your design plans and contract specifications.
Bring a checklist. Review your original scope of work line by line. Did the contractor complete everything promised? Are materials the correct grade and color? Do fixtures operate properly? Look for cosmetic issues like paint drips, uneven tile, or misaligned cabinetry.
Check all systems carefully. Test light switches, outlets, plumbing fixtures, and appliances. Verify that HVAC systems heat and cool effectively. Confirm that new windows open and close smoothly. These aren’t minor details—they’re core functionality you’re paying for.
Implement structured final inspections and compliance verification with the agreed specifications. Request that your contractor walk through with you and address any concerns immediately. Document any deficiencies in writing and establish a timeline for corrections.
Common quality issues to assess include:
- Paint coverage and finish consistency
- Trim and molding alignment and finish
- Tile grout lines and spacing uniformity
- Cabinet door alignment and hardware function
- Countertop seams and edge finishing
- Electrical outlet and switch plate installation
- Floor finish and seamless transitions between rooms
Obtain all required final inspections from your building department. These confirm that work meets code. Don’t accept the project as complete until inspections pass. These official stamps protect your property value and insurability.
Request comprehensive documentation. Your contractor should provide warranties on materials and workmanship, final invoices, receipts for purchased items, and proof of permit compliance. Keep these organized in your project binder.
Final quality review isn’t optional—it’s your last opportunity to address issues before paying the final invoice.
Create a punch list of remaining items. These are minor corrections or incomplete tasks. Give your contractor a reasonable deadline to complete them. Withhold final payment until the punch list is finished and you’ve approved final results.
Once everything satisfies your standards, schedule a final sign-off meeting. Both you and your contractor should formally acknowledge project completion. Pay the final invoice and obtain lien waivers confirming all suppliers and subcontractors have been paid.
Pro tip: Request a one-year and five-year maintenance schedule from your contractor detailing when to service HVAC systems, reseal grout, or inspect for issues—this helps you protect your investment long term.
Take Control of Your Property Renovation with Expert Guidance
Managing property renovations can feel overwhelming when faced with budgeting challenges, contractor selection, and tracking project milestones. This article highlights key pain points like setting realistic goals, overseeing construction closely, and ensuring quality delivery. At Reformity Inc., we understand these concerns deeply and specialize in providing comprehensive renovation and remodeling services in the Greater Toronto Area to help you navigate each phase with confidence and efficiency. Whether you need expert advice on finalizing designs, meticulous project management to stay on schedule, or skilled craftsmanship for lasting results, our team is ready to partner with you.
Ready to eliminate renovation stress and maximize your investment? Explore our full range of remodeling and home improvement solutions at Reformity Inc.. Discover how our proven process and commitment to quality work align perfectly with the principles outlined in the article. Don’t wait for unexpected surprises to disrupt your project. Contact us today to schedule a consultation and take the first step toward a smooth, predictable renovation experience you can trust.
Frequently Asked Questions
How do I assess my property renovation needs effectively?
Start by walking through your property carefully and documenting any issues you find, such as structural problems, code violations, or aging systems. Create a prioritized list to focus your budget on critical repairs first, ensuring you address safety and compliance before aesthetics.
What are the key categories for prioritizing renovation tasks?
Prioritize renovation tasks into three categories: must-fix items (critical for safety), should-fix items (maintain functionality), and want-to-upgrade items (aesthetic enhancements). This framework helps allocate your budget effectively and ensures that essential repairs are completed first.
How can I choose the right contractor for my renovation project?
Research potential contractors by seeking recommendations and reading reviews, then verify their qualifications and request references. Evaluate bids from at least two qualified contractors to compare their experience and ensure they understand your project scope, helping you select the best fit for your needs.
What should I include in my renovation budget?
Create an itemized budget that includes costs for labor, materials, permits, and inspections, plus a 10-20 percent contingency for unexpected issues. Reviewing this budget with your contractor will ensure all costs are realistic and prevent financial surprises during your project.
How can I effectively oversee the renovation process?
Establish a regular communication schedule with your contractor, such as weekly check-ins, to discuss progress and address any problems. Keep a project binder to document milestones and make note of any quality issues immediately, allowing you to address them before they become larger concerns.
What steps should I take for a final quality review of my renovation?
Conduct a thorough walkthrough of the completed project, using a checklist to confirm that all work meets your expectations and specifications. Document any deficiencies and create a punch list for your contractor to address, ensuring all items are corrected before making the final payment.